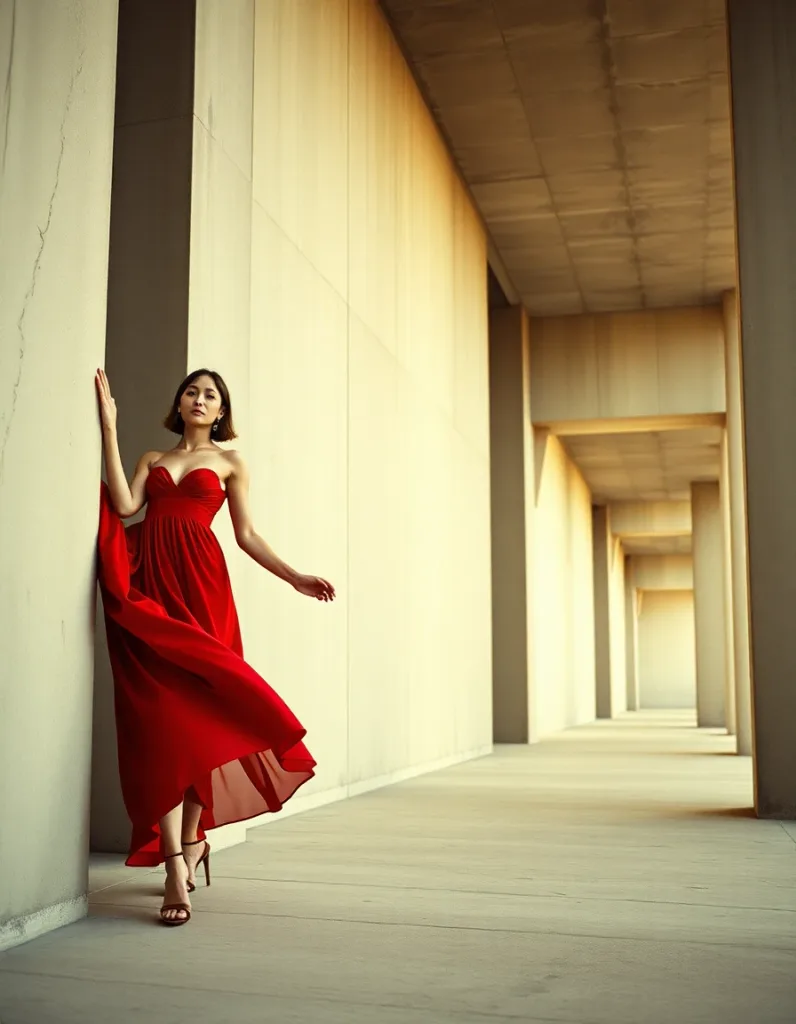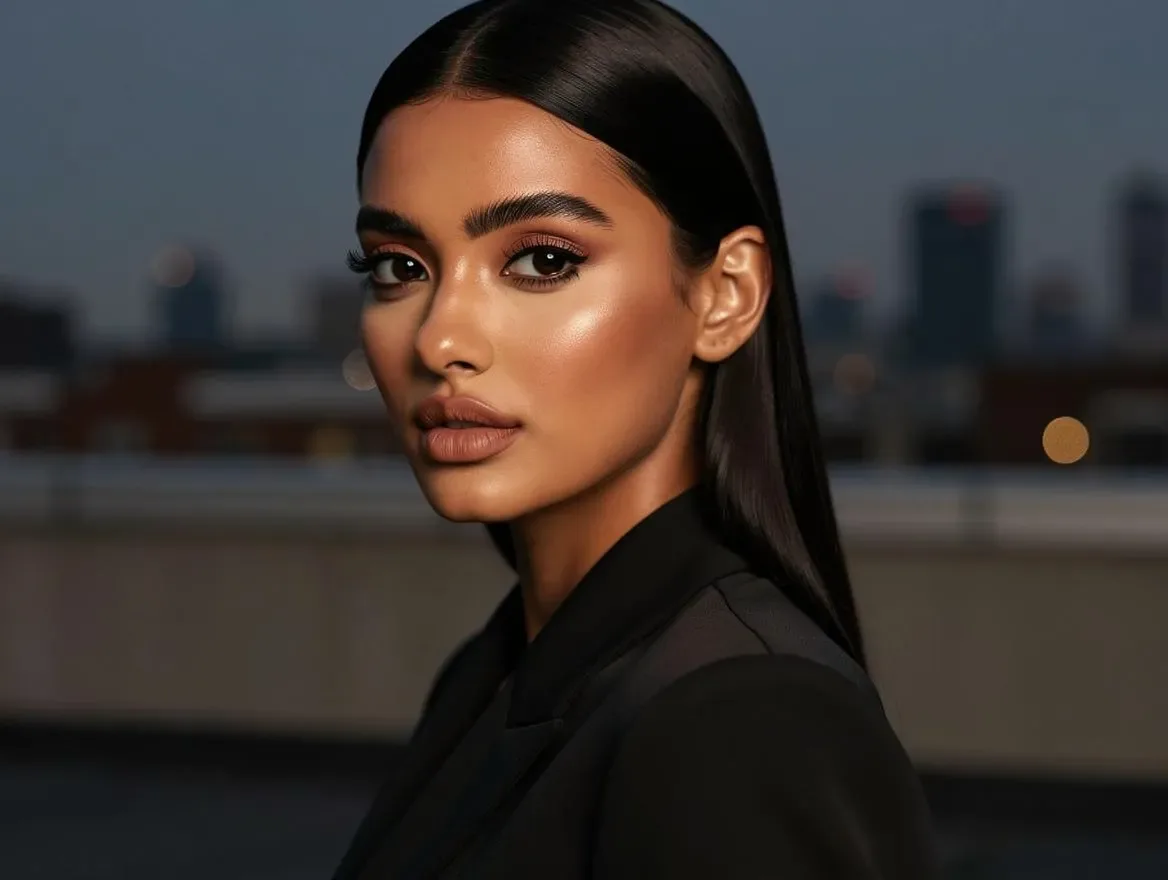
The flat-lay is the most democratic photograph in fashion: a garment, a flat surface, and daylight. Every brand already has hundreds of them — on order sheets, in WhatsApp threads with the stitching unit, in the phone gallery from the day the sample arrived.
What brands actually need on a product page, though, is the garment on a body: shoulders filling the seams, fabric falling the way it was cut to fall. Historically the distance between those two photographs was a booked studio, a hired model, and a production day. AI flat-lay conversion closes that distance: the flat-lay becomes the reference, and the on-model shot is generated from it. Here's the full workflow, including the parts that determine whether the result is publishable.
Step 1 — Shoot a flat-lay worth converting
The conversion is only as good as the reference, so treat the flat-lay as the real photography of the process:
- Even, soft light. Daylight near a window beats any overhead bulb. Avoid hard shadows falling across the piece — the AI can misread a shadow as a fold or a print element.
- A plain, contrasting background. White sheet for dark garments, grey or kraft for light ones. Busy backgrounds cost you edge accuracy at the collar and sleeves.
- Lay it the way it's constructed. Square the shoulders, straighten the placket, spread the sleeves slightly away from the body. The goal is that a stranger could understand the garment's cut from the photo alone.
- Shoot straight down. Perspective distortion in the reference becomes proportion distortion on the model.
- Detail close-ups help. If the piece has embroidery or fine print, a second tight shot of that area gives the system more to preserve.
None of this needs equipment beyond a phone. It needs ten minutes of care per garment — which is still the cheapest photography in the industry.
Step 2 — Choose the model deliberately
This is where a catalog decision hides inside a per-image decision. If you pick a random model per garment, your product grid becomes a crowd of strangers. Save a model identity first — in LensGo's Fashion Studio that's a Brand Model — and cast the same face for the whole drop.
Think like a casting director for one minute: who is the customer this collection was designed for? Choose a model (or two — one for pret, one for formals, say) accordingly, and stay with them for the season. The consistency question is covered in depth in the complete guide to AI fashion photography; the practical rule is simply: one collection, one cast.
Step 3 — Stage the scene for its job
Different destinations want different frames from the same garment:
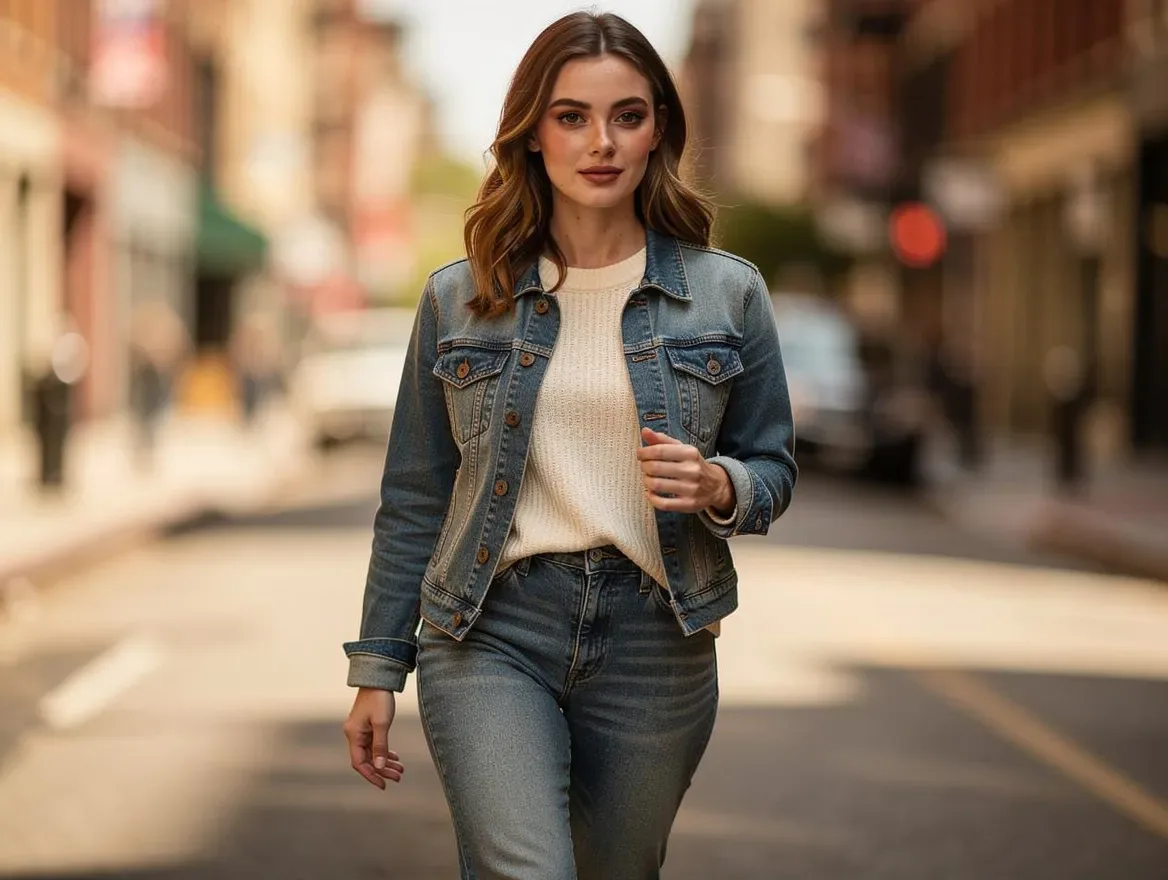
- Product pages: clean studio backdrop, neutral pose, front-on framing. The garment is the whole story.
- Social: lifestyle scenes — café, street, garden. The garment in a life.
- Campaign: one striking editorial setting that sets the collection's mood.
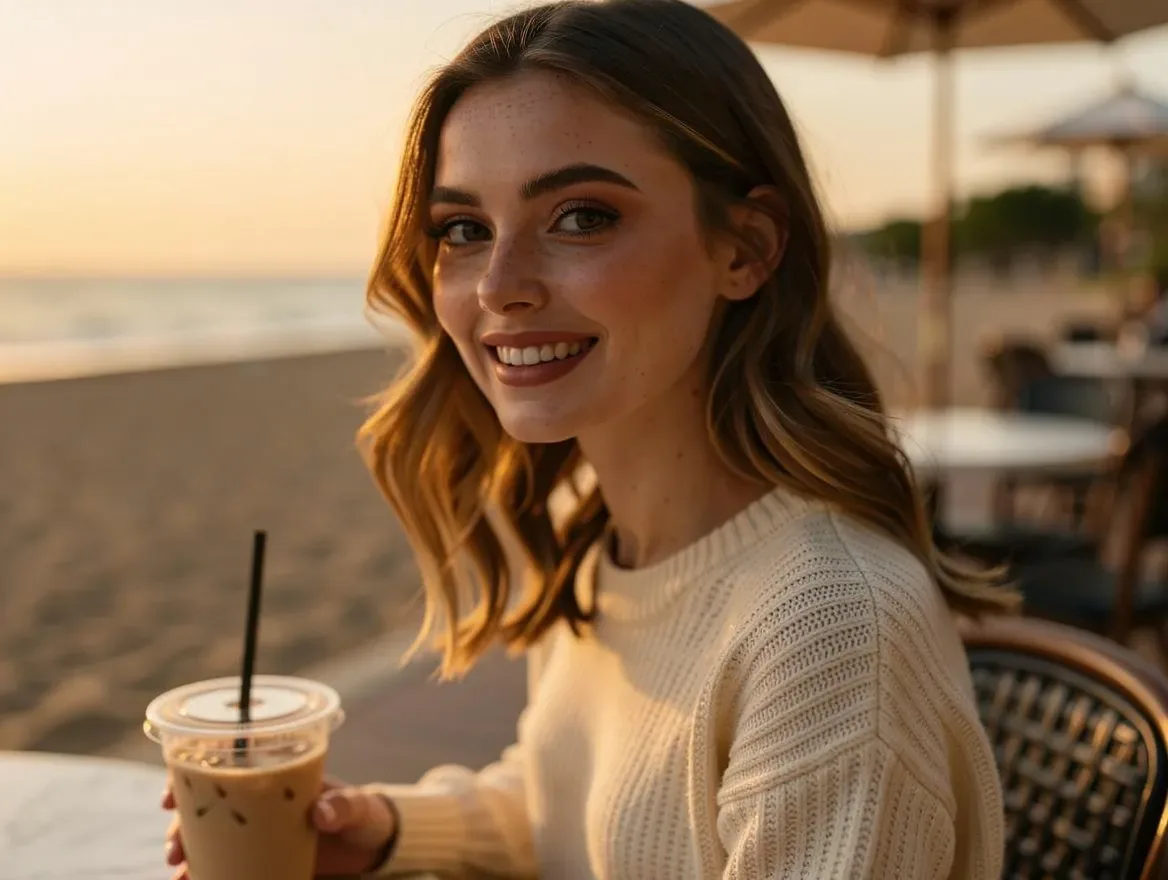
A useful discipline: generate the PDP set first, in one consistent staging, for the entire collection — then go back for lifestyle frames of the hero pieces. Volume first, mood second. If your market needs coverage-first styling — dupatta draping, hijab, abaya-compatible poses — set those presets at this stage too; there's a dedicated guide in modest fashion photography with AI.
Step 4 — Generate, then review like an editor
Generate the on-model image with the Flat-Lay to Model tool, then do the pass that separates professional catalogs from AI-looking ones. Zoom into every result and check:
- The print and embroidery. Does the detail match your reference, or has it been "reinterpreted"? This is non-negotiable — the photo is a product claim.
- The construction. Neckline shape, sleeve length, hem line, button count. Any invention here misleads a buyer.
- Drape plausibility. Does the fabric fall like the actual fabric — a stiff cotton reading stiff, a chiffon reading light?
- The model. Same face as the rest of the catalog, natural hands, coherent lighting between figure and background.
Reject anything that fails your review. On LensGo the first re-roll on any image is free and provider or system failures refund automatically. A subjective reject keeps its original generation charge, and later re-rolls consume credits.
Step 5 — Build the per-garment set
One on-model frame per SKU is a start, not a listing. A strong PDP set from a single flat-lay:
- Front, full-length — the anchor image
- A three-quarter or walking frame — how it moves
- A detail crop — the embroidery, the print, the buttons
- One lifestyle frame — for the feed as much as the listing
And if the piece comes in multiple colors, generate the run from your best accepted frame rather than re-converting each colorway from scratch — the colorway workflow keeps framing and lighting identical across variants, which is exactly what makes color swatches on a product page feel trustworthy.
Scaling from one garment to the whole drop
Converting one flat-lay is a demo; converting a collection is an operation, and a little discipline up front saves hours at the end:
- Name files before you upload.
SS26-014-front.jpgbeatsIMG_4021.jpgforever after. The SKU should travel with the image from flat-lay to export, because forty garments times four frames is a hundred and sixty files to keep straight. - Shoot all the flat-lays in one session. Same window, same surface, same camera height. Consistent references produce consistent conversions — and consistent conversions are what make a product grid look like one shoot.
- Batch by staging, not by garment. Queue the entire drop for the studio PDP frame first, review it as a set, and only then run the lifestyle pass on the accepted pieces. Reviewing forty near-identical studio frames in one sitting is far faster than context-switching per garment — and a batch tool with a review board (LensGo's Fashion Studio runs up to 50 garments per job) is built for exactly this rhythm.
- Keep a rejects note. When you reject an image, record why in the regeneration note — "print too small at the hem," "sleeve length wrong." The note steers the re-roll, and after one drop you'll also know your own most common reference mistakes.
Working from mannequin shots instead
Not every brand starts from a flat-lay. If your existing product photography is on a dress form or mannequin — common for structured pieces like jackets, formals, and anything where the silhouette matters — the same conversion applies, with one advantage and one caveat.
The advantage: a mannequin shot already encodes the drape. The system doesn't have to infer how the shoulders sit or where the waist breaks; it replaces the form with a model while keeping the garment's photographed shape. For tailored pieces this usually beats converting from flat, because a blazer laid flat tells you very little about how it hangs.
The caveat: the mannequin's proportions become the garment's proportions. A piece photographed on a size-6 form will read as fitted on the generated model; if your customer imagery should show a relaxed fit, the reference has to show one. Two practical rules:
- Pin nothing. Retailers routinely pin garments taut at the back of the form for crispness. In a conversion workflow those pins become the fit — the model will appear to wear a garment more fitted than the one you sell.
- Keep the form neutral. Ghost-mannequin composites (where the form is edited out, leaving the garment's 3D shell) convert cleanly; styled forms with jewelry, belts, or tucked scarves transfer those choices onto every generated frame whether you want them or not.
If you have both a flat-lay and a mannequin shot of the same piece, prefer the mannequin shot for structured garments and the flat-lay for fluid ones — kurtas, dupatta sets, and drapey fabrics generally read better generated from flat, where the print and embroidery are fully visible to the system.
Common failure modes (and their fixes)
- Smeared or invented detail → your reference is too small or too dim; reshoot the flat-lay closer and brighter, add a detail crop.
- Wrong proportions on the body → the flat-lay was shot at an angle; reshoot straight-down.
- A different face than yesterday → you generated without selecting your saved model; always cast explicitly.
- Garment color shifted → check your flat-lay's white balance; a warm-lit reference reads as a warmer dye lot.
- Stiff, pasted-on look → the pose fights the fabric; pick a calmer pose for structured pieces and save motion poses for fabrics that actually move.
Every one of these is an input problem, which is good news: inputs are the part you fully control.
The whole loop — flat-lay, cast, stage, review, set — runs from a browser, and the first garment is on the house: LensGo's sample shoot gives a new account three on-model images from one garment at no cost, signup required. Convert the piece you know best and judge the result against your own standards.