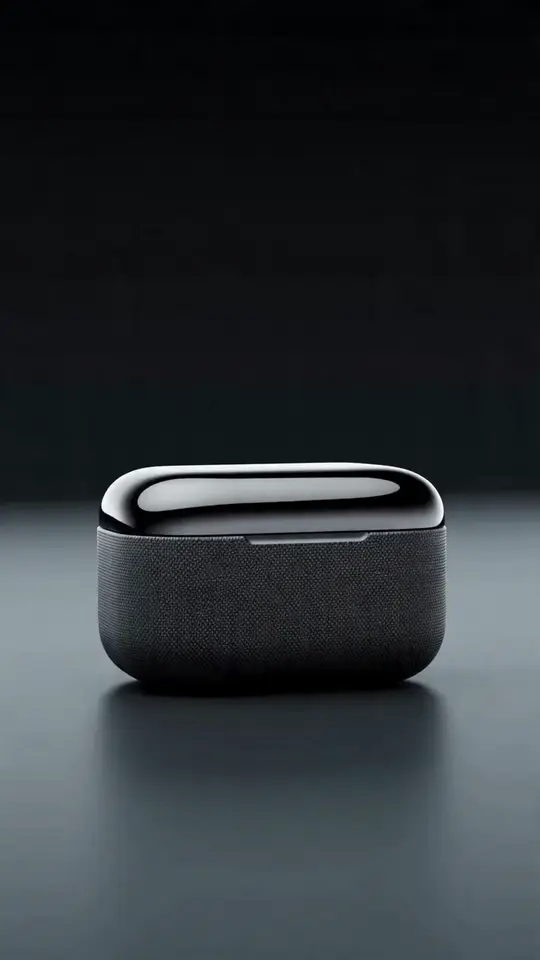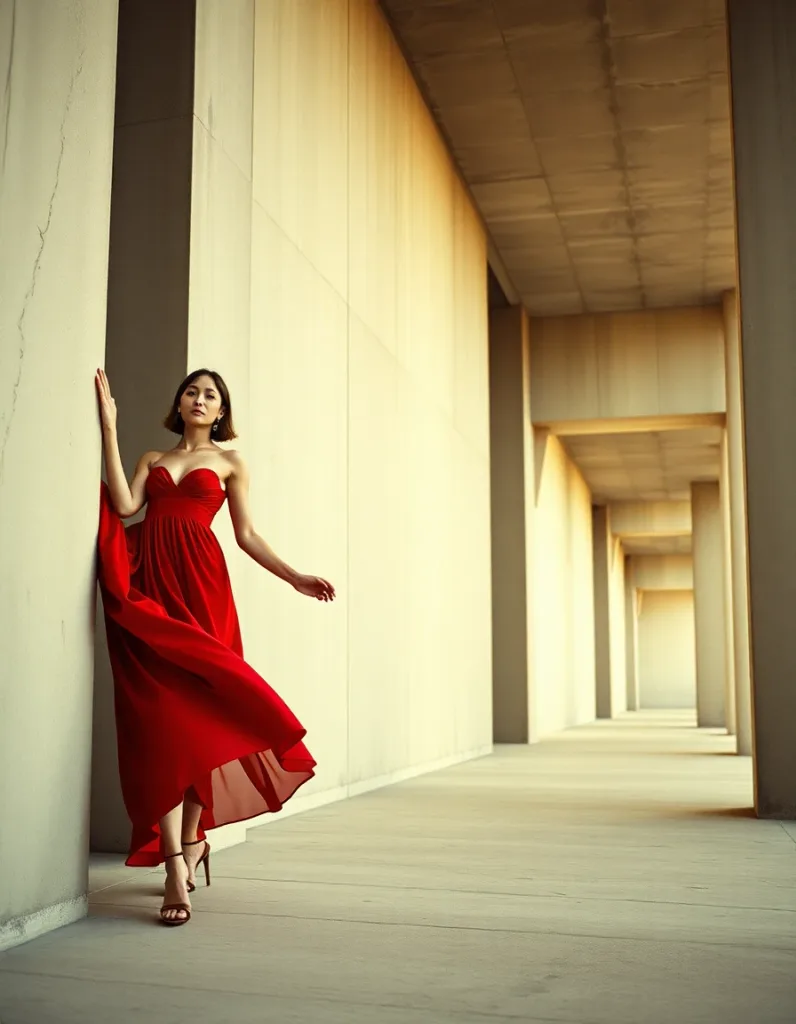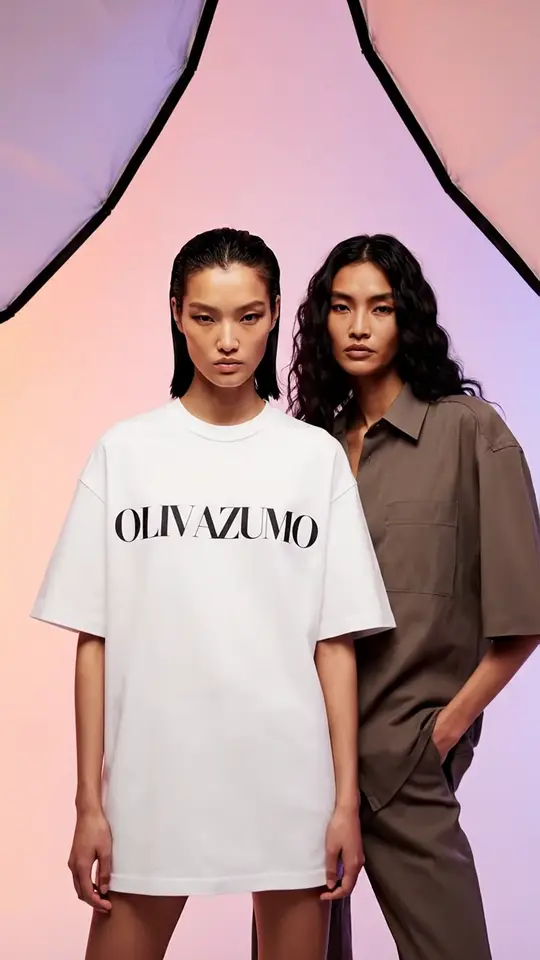
An AI influencer is a fictional person you create and publish content as — a face, a look, and a personality that show up consistently across a feed. The hard part was never making a good-looking image. It was making the same person appear in the next hundred images.
That's the whole job: consistency. This guide walks the actual workflow — pick a character, lock it, photograph it anywhere, then bring one shot to life as a short video.
A quick note before you start: build a fictional character. Don't base your influencer on a real person's face — no friends without their consent, no public figures, no celebrities. Everything below assumes an invented persona.
Step 1 — Design the character
Start with a written brief, not a prompt. Two minutes here saves an hour later. Decide:
- Identity: approximate age, build, hair, distinguishing features.
- Vibe: the adjectives you'd give a casting director — "warm, sporty, sun-worn," or "quiet, editorial, minimalist."
- Niche: fitness, skincare, travel, food, fashion. The niche decides the wardrobe, the settings, and the tone of every future post.
- Name and voice: how they'd caption a photo.
Vague briefs produce forgettable characters. "Woman, 25" gives you a stock face. "26, freckled, cropped auburn hair, runner's build, always slightly windblown" gives you someone a viewer can recognize at a glance — and recognizability is the point.
Step 2 — Lock the character (this is the step everyone skips)
Now generate the character and save them. In LensGo this is a Lens ID: a saved character built from reference images, so every future generation is anchored to the same face rather than starting from scratch.
Here's why it matters. If you just re-run a text prompt, you get a new person who merely matches the description. The jawline shifts, the eyes change spacing, the age drifts a few years. Viewers don't consciously catalogue those changes — they just feel that something's off, and the account stops reading as a real person.
A saved character fixes that by carrying the identity forward as a reference set, not as a paragraph of adjectives.
To be clear about what you're saving: there is no photo upload. You don't bring a picture of a real person. You either pick one of the five presets, or you design a face — gender, age, look, hair, eyes — and shuffle until you like it. LensGo then generates that same person from a few more angles, and those shots become the reference set every future scene is conditioned on.
One thing to be clear about: this is reference-based consistency, not a custom model. LensGo doesn't train a personal model or a LoRA on your character — there's no long training job, no dataset to assemble. You save the character and use it. That's a feature, not a limitation: you can have a usable persona in minutes instead of hours.
Step 3 — Photograph them anywhere
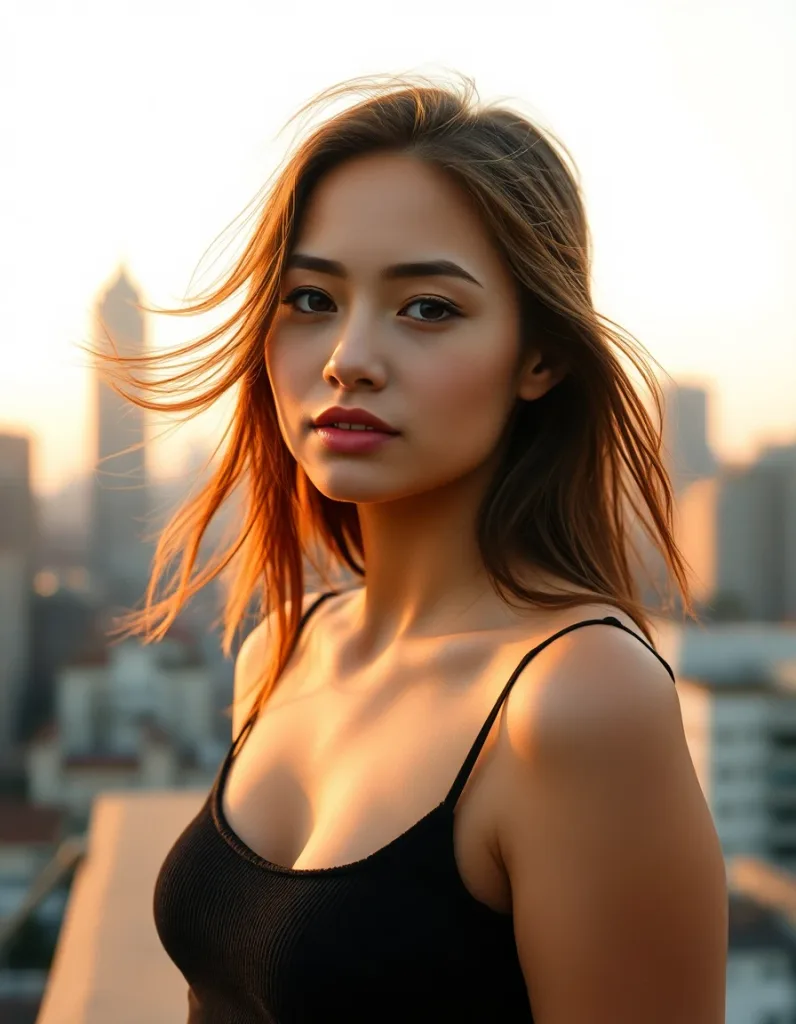
With the character locked, generation becomes casting. You stop describing a person and start describing a scene:
- "Sitting on the steps of a Lisbon café, morning light, holding an espresso."
- "Gym mirror selfie, harsh overhead light, mid-workout."
- "Studio portrait against seamless grey, editorial lighting, olive knit."
The character stays the same; only the world around them changes. Build your first batch as a content pack rather than one-offs — a week of posts in a single sitting:
- Two or three hero shots (clean, close, the face doing the work).
- Three or four lifestyle shots (in a place, doing something, mid-motion).
- One or two product-in-hand shots if you're headed toward brand work.
- A couple of vertical crops ready for Stories and Reels.
Vary lighting and location aggressively, but keep the wardrobe and grooming inside the character's lane. A persona reads as real because their world is coherent, not just their face.
Step 4 — Animate one shot into a video
Feeds reward motion. Take the strongest image from your batch and turn it into a short clip: subtle motion — a slow push in, hair moving, a head turn, a soft parallax on the background — is enough to stop a scroll. It's the same character, now breathing.
Set expectations correctly here: this is image-to-video motion, not a talking avatar. LensGo doesn't do lip-sync or synthetic speech today, so plan clips that work as B-roll: atmosphere, a gesture, a product reveal, a walk-through. Add captions and a music bed and you have a post.
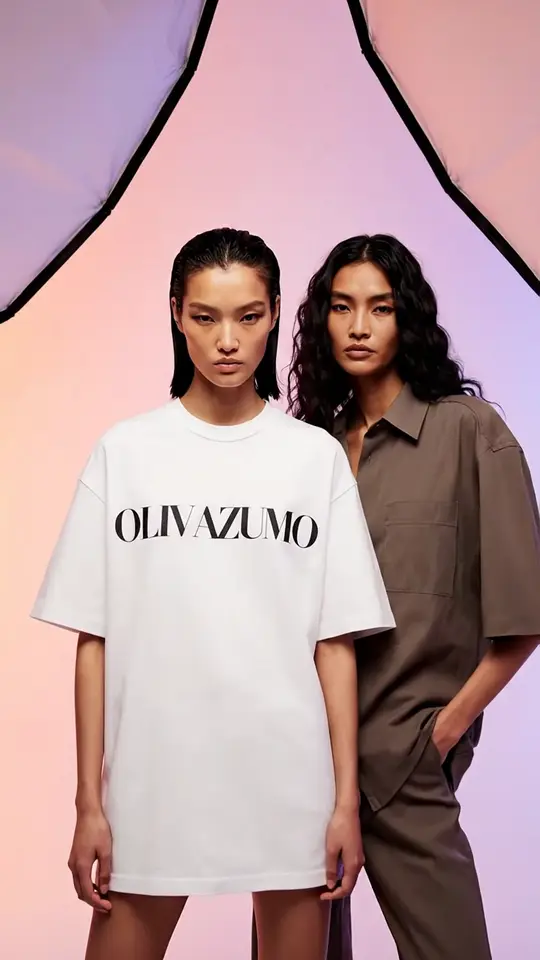
Step 5 — Publish like a person, not a content farm
The character is the easy half. The account is the hard half:
- Post in arcs, not blasts. A trip, a training block, a product they're testing. Continuity across posts is what makes a persona feel alive.
- Disclose that they're AI. Say it in the bio, and label sponsored posts. Audiences forgive a virtual creator; they don't forgive being deceived — and in many markets, disclosure of AI-generated endorsements is expected by advertising regulators.
- Keep a style bible. Ten lines: the character's look, the recurring locations, the palette, the caption voice. It's what keeps month three consistent with week one.
- Give it time. Growth results vary wildly, and no tool changes that. Consistency of output is what you can control.
The short version
Design a specific character. Save it as a Lens ID so the face stops drifting. Generate scenes, not people. Animate your best frame. Disclose that it's AI. Then do it again next week — that's the whole loop.
Sign in to LensGo and create your first character to see the difference a locked identity makes.