AI Image: Step-by-Step Plan to Achieve the Bacon Figure Effect Technical Approach (Resolve Free + your gear):
Prompt
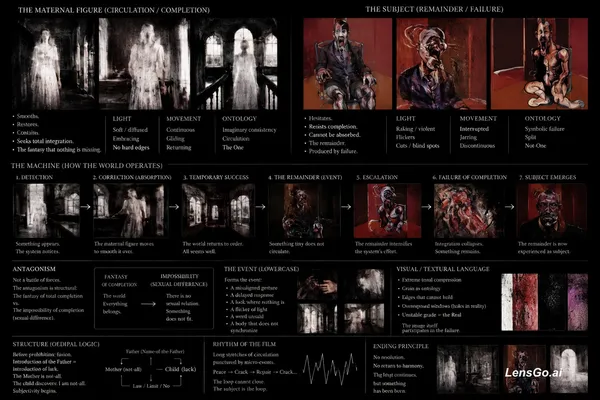
Step-by-Step Plan to Achieve the Bacon Figure Effect Technical Approach (Resolve Free + your gear): We will use layering and selective color rather than heavy VFX. The body will feel like it is melting, fragmenting, and leaking color - organs becoming autonomous. 1. Shooting (Next Test) Multiple plates (essential): Main performance: slow, contorted pose at the table. Alternate takes with different head/arm positions. Close-ups of face, hands, torso. Meat/flesh texture plates (raw meat or reddish substitute, lit with your key lamp). Lighting: Strong side key (globe lamp) so one side of the body is bright (for color/glow), the other deep shadow. 2. Post-Production Workflow (Resolve Free) Node Tree: Node 1-2: Base + your chaotic curve (B&W inky texture). Node 3: Fusion for Bacon Distortion (the core effect) Layer multiple performances/stills of the subject. Use Mesh Warp or Displace for melting/smeared contours. Add meat texture layers with soft masks (low opacity). Slight time offsets for fragmentation. Node 4: Selective Color Infiltration (the reds/purples) Mask the figure (Power Window or Magic Mask, feathered). Inside mask: Use Color Warper or Curves (individual R/G/B channels) to introduce fleshy reds and purples in glowing areas. Boost red in highlights for meaty tone. Add subtle purple/magenta in midtones for the suit-like Bacon color. Blend at 60-80% opacity so the B&W texture still dominates but color "leaks" through. Node 5: Grain + final polish (preserve the pr
Created July 9, 2026
Create Your Own Version
Use this prompt as inspiration or remix it into something new.