If you've been curious about AI-generated travel imagery but felt overwhelmed by the technology, this guide is for you. We'll walk through the entire process from your very first prompt to a published social media post, explaining the concepts behind each step so you understand not just what to do, but why it works.
What AI Travel Photography Actually Is
At its core, AI image generation translates text descriptions into visual images. You describe a scene — "a sunset over the Amalfi Coast with colorful buildings cascading down to the sea" — and the AI creates an image that matches your description. Think of it as having a conversation with an incredibly talented digital artist who can paint any scene you can describe, in any style, at any time of day, in any weather.
The technology behind this is genuinely remarkable, but you don't need to understand the technical details any more than you need to understand how a camera sensor works to take a great photo. What you do need to understand is how to communicate your vision effectively — and that's what this guide teaches.
Your First Prompt: The Anatomy of a Good Description
A prompt is simply the text description you provide to the AI. The quality of your output depends almost entirely on the quality of your prompt, so it's worth understanding what makes a good one.
Every effective travel prompt contains four elements: a subject (what the image shows), a setting (where and when), a style (how it looks), and a quality indicator (how polished it should be). Let's build one step by step.
Start with the subject: "Eiffel Tower." That's technically a prompt, but it gives the AI almost no creative direction. The result will be generic and forgettable.
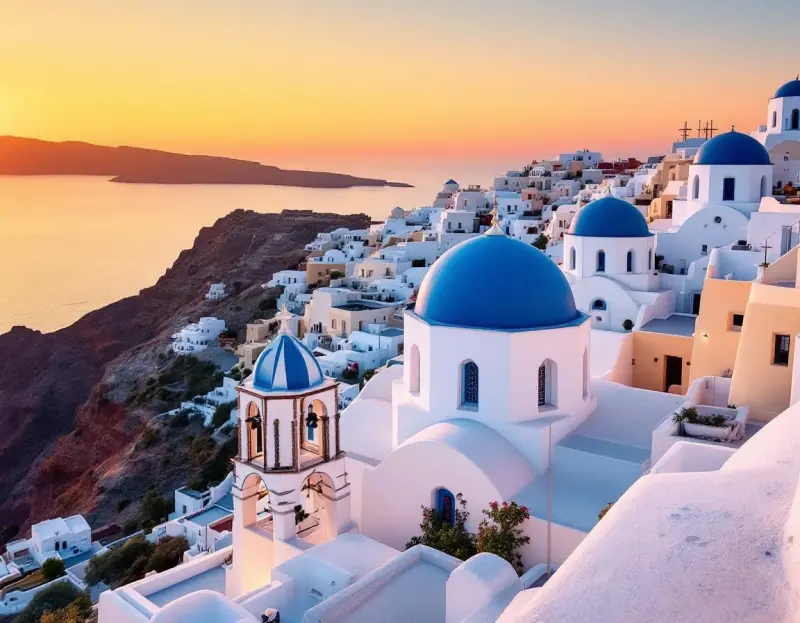
Now add a setting: "Eiffel Tower at golden hour from the Trocadéro gardens." Better — now the AI knows the time of day, the camera position, and the broader scene.
Add style: "Eiffel Tower at golden hour from the Trocadéro gardens, cinematic lighting, warm color palette." Now the AI understands the mood and aesthetic you're going for. Finally, add quality: "Eiffel Tower at golden hour from the Trocadéro gardens, cinematic lighting, warm color palette, professional travel photography, 8K quality."
That final prompt is specific, descriptive, and gives the AI clear direction on every dimension that matters. The difference between this and the bare "Eiffel Tower" prompt is dramatic — and it takes only a few seconds longer to write.
Understanding Style Keywords
Style keywords are the secret weapon of great AI prompts. They act as shorthand for complex aesthetic choices, telling the AI about camera angle, color grading, composition, and overall mood in just a word or two. Here are the most useful ones for travel photography.
"Cinematic" produces images that look like frames from a high-budget film — wide dynamic range, dramatic lighting, rich color depth. It's the most versatile style keyword and works well for almost any travel subject.
"Editorial" produces images that look like they belong in a travel magazine. The compositions tend to be cleaner and more minimal, with thoughtful use of negative space and a polished, sophisticated feel.
"Documentary" produces images that feel candid and authentic — street scenes, market life, cultural moments captured as they happen. The colors tend to be more natural, and the compositions less perfect, which paradoxically makes them more compelling.
"Aerial" or "drone perspective" dramatically changes the camera position, creating overhead or angled views that reveal patterns and scale invisible from the ground. This works spectacularly for landscapes, coastlines, and urban grids.
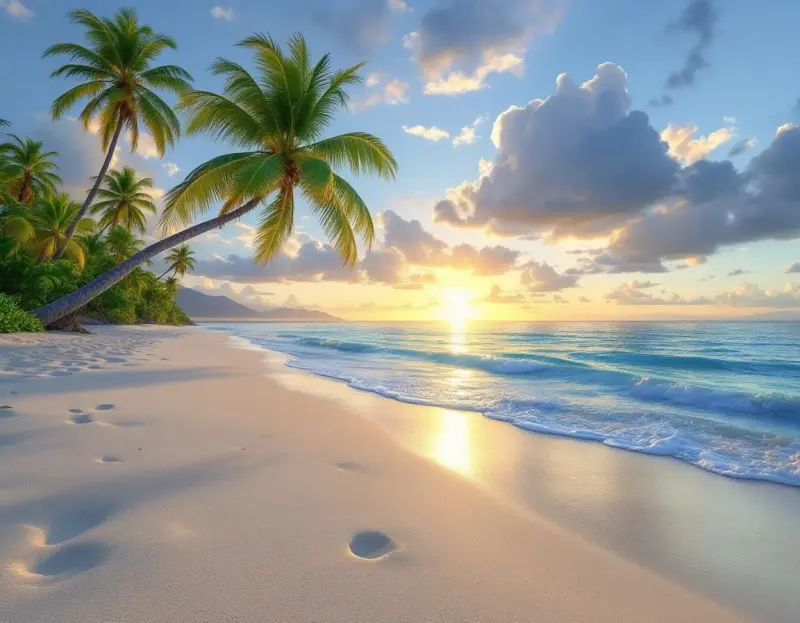
"Golden hour" and "blue hour" control the time of day and, by extension, the entire color palette and mood of the image. Golden hour (just after sunrise or before sunset) produces warm, glowing images, while blue hour (just before sunrise or after sunset) produces cool, moody ones.
From Generation to Publication
Once you've generated an image you're happy with, the journey to publication involves a few important decisions. First, consider the platform. An image destined for Instagram needs to be cropped or generated in a square or 4:5 format. A blog hero image should be in 16:9 widescreen. A Pinterest pin needs a vertical 2:3 or 3:4 aspect ratio. Generating in the right aspect ratio from the start always produces better results than cropping after the fact.
Next, think about context. A stunning image posted with no caption is a missed opportunity. The most engaging travel posts pair visual beauty with useful information — the name and location of the destination, interesting facts, travel tips, or a personal anecdote. This combination of visual appeal and genuine value is what transforms casual scrollers into engaged followers.
Finally, be consistent. Your first few posts are experiments — you're learning what works, developing your style, and discovering which types of content resonate with your audience. The key is to keep generating, keep posting, and keep refining. Every prompt teaches you something about how the AI interprets language, and within a week or two of regular practice, you'll find that creating professional-quality travel imagery feels as natural as taking a photo with your phone.
Common Beginner Mistakes
The most common mistake is being too vague. "A beautiful beach" could be anything from a rocky Mediterranean cove to a tropical paradise to a windswept Nordic shore. The AI can't read your mind, so the more specific you are about what you're imagining, the closer the result will match your vision.
The second most common mistake is cramming too many subjects into one prompt. "Eiffel Tower with the Colosseum and Big Ben at sunset with a rainbow" won't produce a coherent travel image — it'll produce a surreal collage. Great images have a single clear focal point, and your prompt should reflect that focus.
The third mistake is ignoring composition. Phrases like "centered composition," "rule of thirds," "leading lines," or "symmetrical framing" give the AI guidance about how to arrange elements in the frame, and the difference they make is significant.
What to Create First
If you're just starting out, begin with destinations you know and love. Your familiarity with the real location will help you evaluate whether the AI output feels authentic, and your personal connection to the place will make your captions more genuine. Generate three to five images of your favorite destination using different perspectives, times of day, and style keywords. Compare the results, notice which prompts produced the most compelling images, and use those patterns as the foundation for exploring new destinations.
Start your first generation → — it's free, and you might surprise yourself with what you create.